This tutorial shows you how to use an overseas VPS to build a VPN server. No commands are required, no technical knowledge is required, and it is a completely fool-proof operation that anyone can understand.
There are many overseas VPS service providers. Of course, you can also choose overseas servers from domestic cloud service providers, but the price in China is very expensive. The price of one month in China can be rented for nearly a year abroad. Therefore, the VPS service provider selected in this tutorial is
https://bandwagonhost.com.
If the above address cannot be accessed, you can try the following mirror address
https://bwh1.net
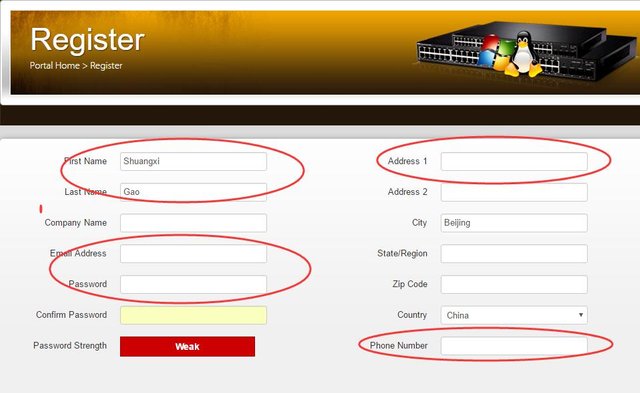
After opening the above address, you can see a web page in the style of the 1990s. Click register to enter the registration page and register an account.

Register an account, everyone will definitely
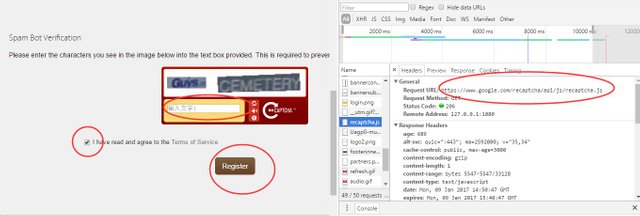
After filling in the basic information, you need to enter the verification code, check the agreement and submit. What you need to note about the verification code is that this website uses Google’s verification code API, so if you can’t get the verification code, uh, you may need a VPN. Some domestic VPN providers have limited-time free accounts, so you can temporarily use them to get the verification code.
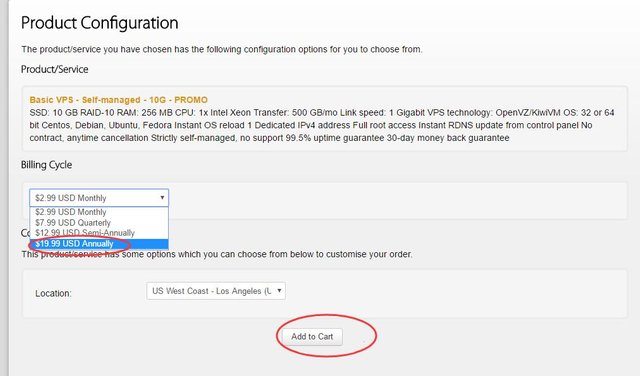
Then use the newly registered account to log in to the website and purchase the cheapest VPS.

The purchasing process is similar, I purchased one year.
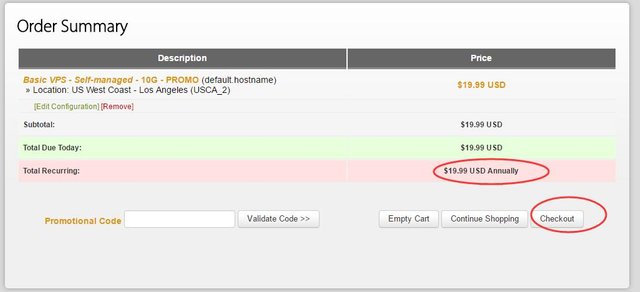
Then just make the payment. This website supports Alipay and it’s very cheap at $20 a year.
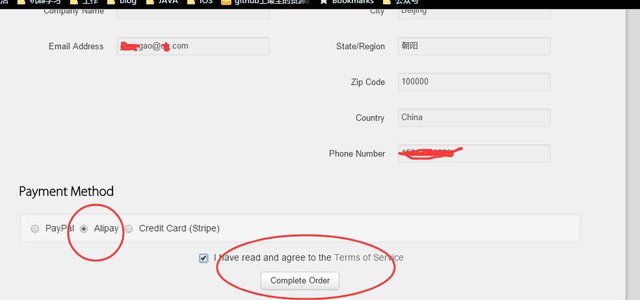
After payment is completed, go to the server management page and enter the server console.
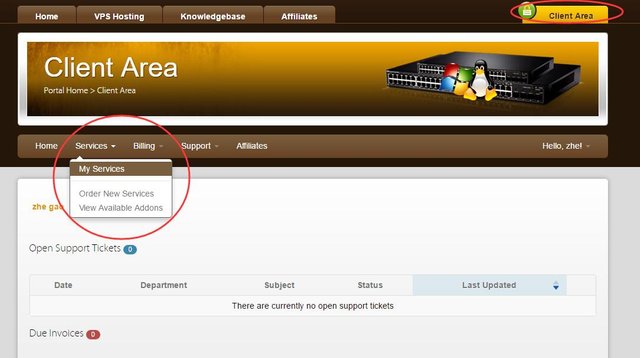
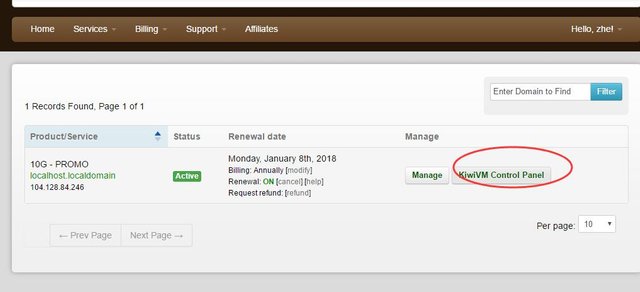
Click Shadowsocks Server at the bottom of the console to install the ss server
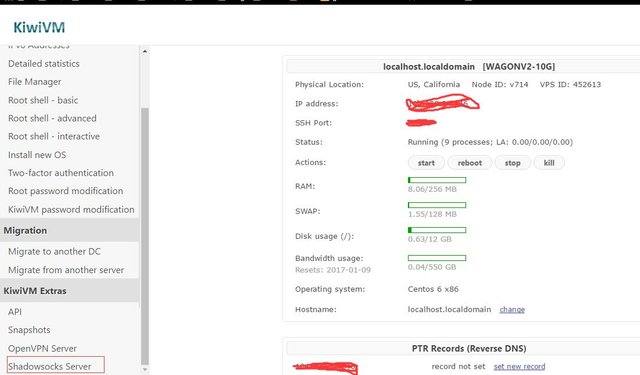
After installing the ss server, you can see the relevant information of VPN in the console. Then configure the small plane on your computer to surf the Internet scientifically.
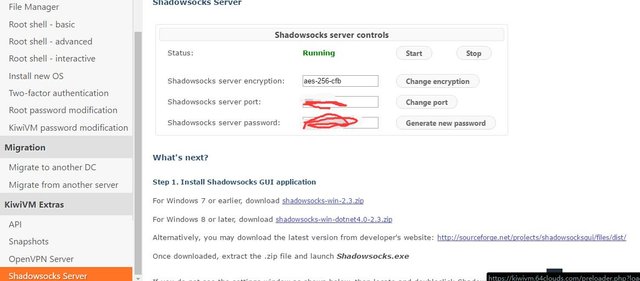
It doesn’t matter if you don’t know how to configure the miniplane. There are instructions for using the miniplane at the bottom of the above page.
The above is a simple configuration to build your own VPN to achieve scientific Internet access. You can see that we did not log in to the VPS we purchased, nor did we use any Linux commands or any server configuration. This website seems to be born for VPN, which is why I chose this VPS service provider to write this tutorial, because by choosing this VPS service provider, people who do not understand technology can also configure their own VPN step by step.
Okay, I have finished writing the tutorial, and now it’s time to complain.
I won’t complain about the fact that it takes a lot of effort to access the Internet in China, because we live behind the Great Wall! However, some VPN service providers are too bad. At the beginning of last year, I just stopped my overseas server and switched to the service of a domestic VPN service provider. I bought a two-year VPN service, which should have expired in the spring of next year. As a result, today I found that not only the VPN service is unusable, but even the official website of the service provider is gone.
These domestic manufacturers are really unreliable. I’d better go back to the old method and set up my own VPN!
Finally, here is the content of the first email sent from China to the world via the Internet at 20:55 on September 20, 1987:
Across the Great Wall we can reach every corner in the world.

